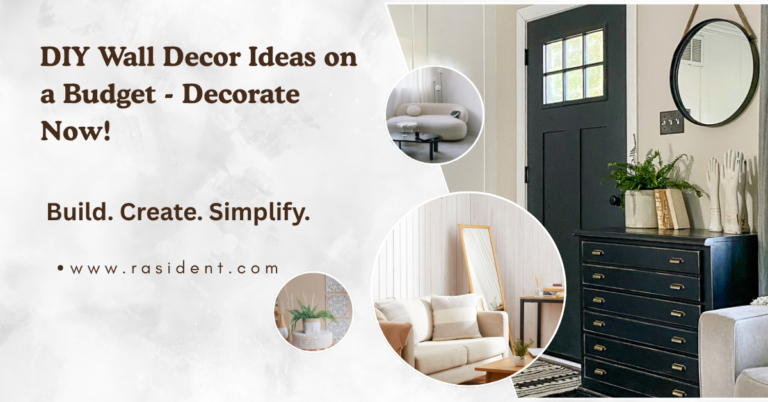
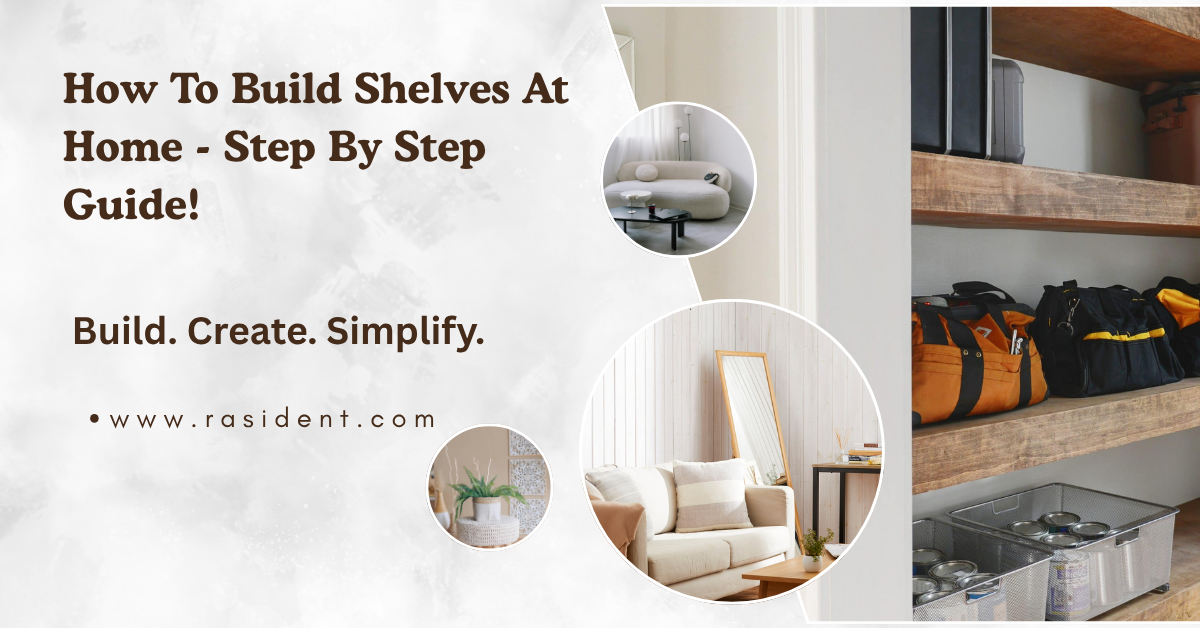
How To Build Shelves At Home! Building your own shelves is one of the finest options if your home lacks adequate storage space. The finished result is something you built yourself, you have total control over size and style, and it saves money.
You don’t need to be a carpenter or own a workshop full of expensive tools. With a little planning and persistence, anyone can eventually learn how to build shelves at home.
This guide walks you through every step of the process, from choosing your supplies to installing the finished shelf on your wall.
Table of Contents
Why Building Your Own Shelves Is Beneficial – Let’s Do It!
Buying shelves from a furniture store may seem easy, but there are serious drawbacks. Most pre-built shelves are made of subpar particleboard, come in a limited number of sizes, and cost far more than they should.
The same shelf, which is constructed of solid wood that has been properly cut to your requirements, may cost you between $20 and $40 to make yourself. You can even choose the finish, like a crisp white paint to complement your walls or a warm walnut stain that accentuates the natural grain of the wood.
Custom sizing provides a helpful benefit that is sometimes overlooked in addition to the financial savings. Older homes, rental apartments, and oddly shaped rooms rarely have walls that suit standard shelf dimensions.
What You’ll Need Before You Start – Complete the equipments!
Assembling your equipment and materials before you begin can save time and hassle. This is a list of everything you’ll need for a basic wall-mounted shelf project.
Accessories:
- A tape gauge
- An inkpen
- Scale
- A stud locator
- Using a power drill, drill bits
- A circular saw or miter saw (or have the hardware store cut for you)
- Sandpaper with 80, 120, and 220 grit
- A little paintbrush or roller
Equipment:
- Wood boards made of pine, poplar, oak, or plywood (more on this below)
- Hardware for wall brackets or floating shelves
- Wood screws, 2.5″ and 3″.
- Use drywall anchors if mounting into studs isn’t a possibility.
- For wood or wood stain, paint and primer
- Polyurethane sealant is recommended for durability.
- Filler composed of wood
First, create a shelf plan
Every effective shelf has a clear plan as its foundation. Before you touch any wood, decide on three things: the type of shelf you want, its location, and its size.
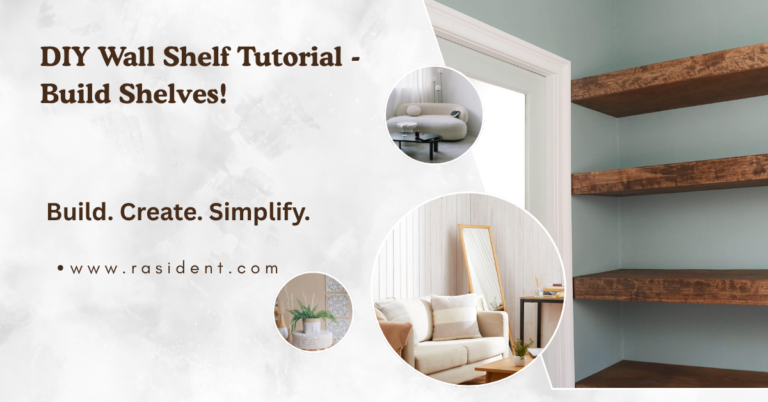
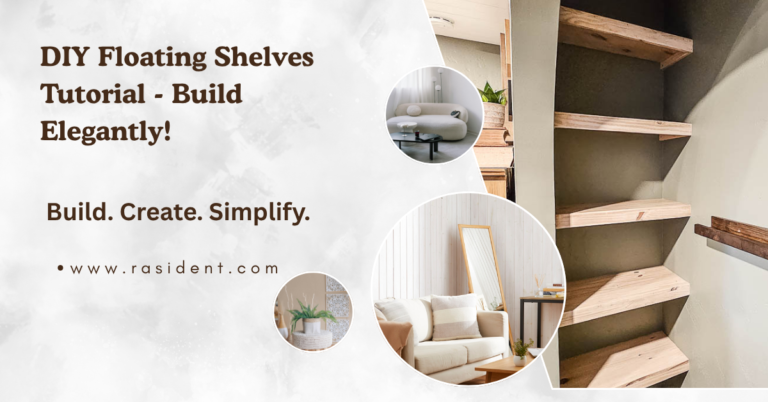
Floating shelves are currently the most popular choice. By using a steel rod or hidden rail system to mount flush to the wall, they produce a sleek, modern appearance. They look fantastic in home offices, living rooms, and bedrooms.
Bracket shelves are easier to use for beginners. Clearly visible L-shaped brackets support the board from below. They can support higher loads and are simpler to install than floating options.
Because freestanding shelves don’t attach to the wall at all, they are ideal for renters or anyone who doesn’t want to drill into walls.
Create a simple schematic and note the measurements. This is your road map for every step you do after that.
Step 2: Select and Acquire Wood
For beginners, pine is the finest choice. It is easy to cut and sand, affordable, and easily available at all hardware stores. It is resistant to light stains and has excellent paint absorption.
Compared to pine, poplar has a smoother, finer grain, which makes it ideal for painting. It produces a polished surface with less visible grain and is cleaner.
Maple and oak are examples of hardwoods with lovely natural grain patterns. They are ideal if you wish to dye the wood to bring out its individuality. Although they are more costly and need a bit more time to cut, the outcome is excellent.
Step 3: Cut the wood to size.
Holding your measurements, mark the cut line on the board using a pencil and straight edge. Always check the measurement before cutting.
When using a circular saw, attach a straight guide board to your workpiece to ensure a perfectly straight cut. With a miter saw, clean, accurate cuts may be created even faster. As long as you use caution and let the blade do the work, either instrument works well.
Step 4: Use Sand to Level the Shelf
Sanding is one technique that separates a shelf that looks to be professionally built from one that looks to be homemade. Don’t skip it.
Start with 80-grit sandpaper to remove any rough spots, tool marks, and uneven surfaces. Always sand in the direction of the wood’s grain because sanding against the grain causes significant scratches.
Use 120-grit to further smooth the surface and remove the marks left by the coarser paper.
Use 220 grit for a paint-ready, smooth finish. It should feel smooth, even, and free of irregular areas when you run your palm over it.
Paint or Stain the Shelf in Step Five:
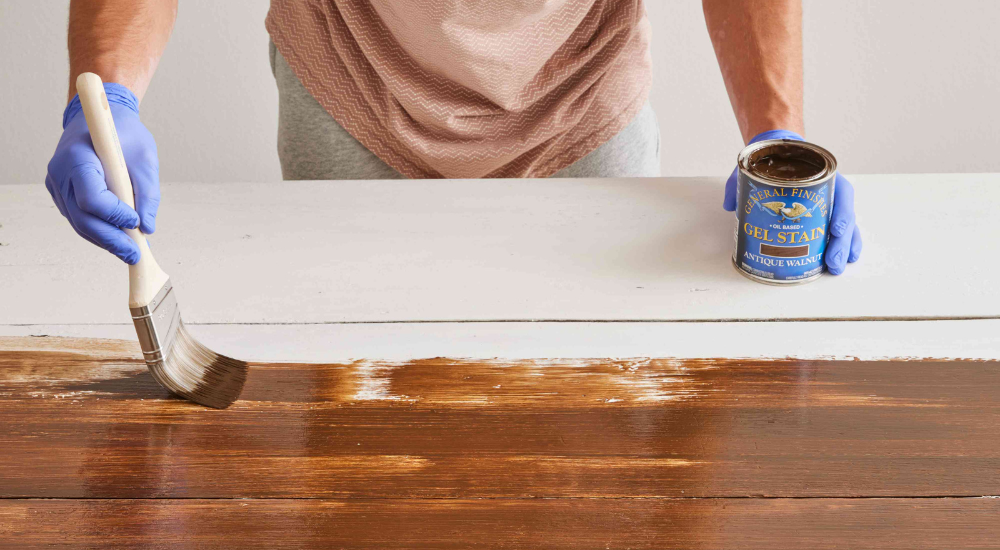
It’s much easier to finish the shelf board before putting it on the wall. You will have full access to all sides, so you won’t have to worry about paint dripping into your baseboards or floor.
Apply a layer of wood priming and give it one to two hours to dry completely before painting. Primer seals the wood, prevents bleed-through, and strengthens the binding of the topcoat. After the paint has dried, apply it in long, smooth strokes that follow the grain.
Two thin coats are always more appealing than one thick one. In between layers, gently grind with 220-grit sandpaper for the smoothest finish.
When the stain has fully cured, apply two to three applications of polyurethane for protection, sanding lightly in between.
Find the Wall Studs in Step Six
- Mounting onto wall studs is the most important step in building a sturdy and safe shelf. Studs are the vertical wooden beams that make up your wall; they are normally spaced 16 inches apart.
- Carefully move a stud finder across the wall to acquire the right shelf height. It will flash or beep when it detects a stud. At each location, place a tiny pencil dot.
- If you lack a stud finder, try tapping along the wall with your knuckle. The lack of a stud is indicated by a hollow sound. If the knock is stronger and duller, you’ve undoubtedly found one.
- When studs don’t fall where you need them, use heavy-duty toggle bolt anchors rated for far more than your expected load.
- Holding the metal mounting rail at the proper height and using a level to ensure it is perfectly straight, mark the locations of the screw holes for floating shelves. Firmly insert the screws after drilling pilot holes.
- For bracket shelves, place each bracket at the appropriate height and spacing (one on each end, plus one in the center for longer shelves). Level each bracket independently before marking and drilling.
- Check the level one last time after mounting all of the components. Even a slight tilt is apparent when items are placed on a shelf.
Attach the Shelf and Make a Final Check
- You can either slide or put the shelf board onto your mounting hardware. For bracket shelving, screw up into the underside of the board through the bracket holes.
- Place your level on top of the shelf to ensure it is completely horizontal. Before everything is fully tightened, now is the time to make any small modifications.
- Any exposed screw holes should be filled with wood filler, allowed to cure, smoothed with sandpaper, and then touched up with matching paint or stain.
- Finally, carefully add weight to assess the strength of your actual items before placing them on the shelf. A well-built shelf shouldn’t flex, slump, or show any wall movement.
Typical Mistakes to Avoid
Without first searching for studs. This is the most dangerous mistake: a drywall-covered book shelf may unexpectedly break away from the wall.
Do not use pilot holes. Drilling screws directly into wood without a pilot hole often causes the board to break or the screw head to strip.
putting on a thick, single layer of finish. After multiple thin applications, the result is always smoother and more durable.
taking one measurement. There is a reason behind the proverb “always measure twice before making any cut.
Conclusion:
Building your own shelves has several advantages, such as lower costs, better quality, and the deep satisfaction of having something you made yourself hang on your wall. After you’ve finished one shelf, you’ll probably want to construct additional.